Easy 800-Word Guide to Ledger Live for Beginners
Ledger Live is the official app created by Ledger to help users manage their cryptocurrency safely and easily. Whether you own a Ledger Nano S, Nano S Plus, or Nano X, Ledger Live is the main tool you use to install apps, manage coins, check balances, and send or receive crypto. If you are new to hardware wallets or crypto management, this guide will help you understand Ledger Live in simple, clear language.
What Is Ledger Live?
Ledger Live is an all-in-one software application that connects to your Ledger hardware wallet. It works on both desktop (Windows, macOS, Linux) and mobile (Android and iOS).
With Ledger Live, you can:
Set up and manage your Ledger device
Check your crypto portfolio
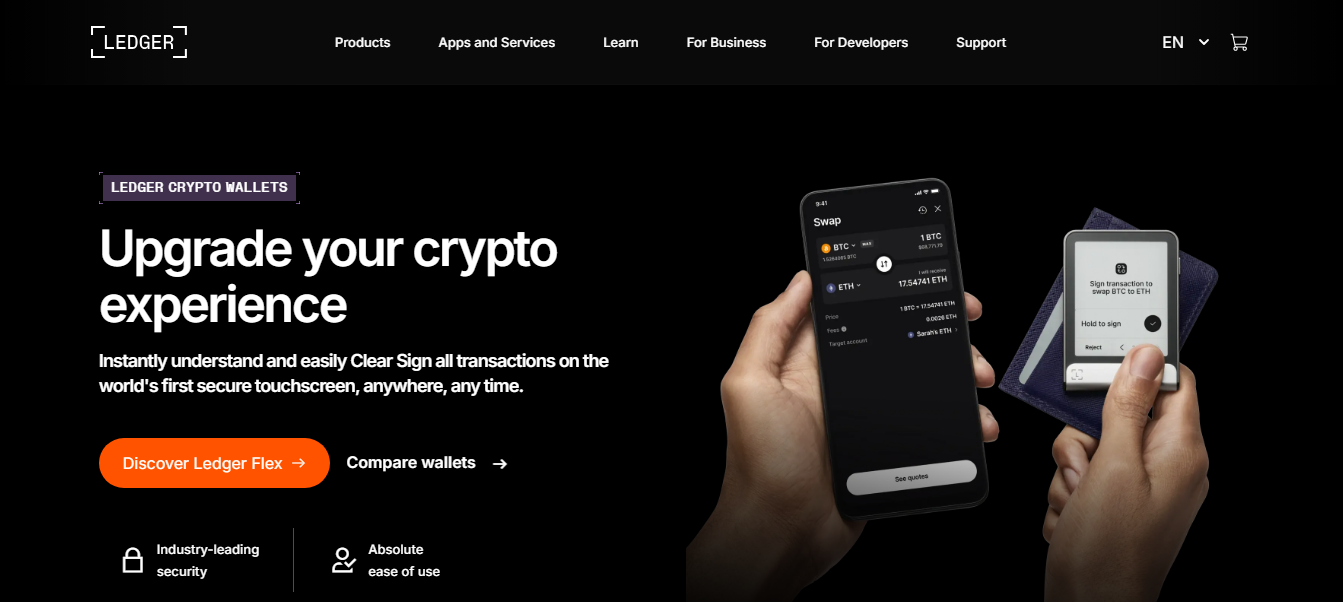
Send and receive cryptocurrency
Install and remove crypto apps
Buy, sell, and swap selected coins
Update your device firmware
In simple terms, Ledger Live is the control center for your Ledger hardware wallet.
Why Ledger Live Is Important
Ledger devices store your private keys offline, but you still need a secure interface to manage your crypto. That’s where Ledger Live comes in. It ensures:
Safe transactions
Real-time portfolio updates
Easy access to supported cryptocurrencies
Simple device maintenance
Using Ledger Live helps you manage everything in one place while keeping your wallet’s security strong.
Getting Started With Ledger Live
Here is a simple step-by-step guide to using Ledger Live for the first time.
1. Download Ledger Live from the Official Website
Always download Ledger Live from the official Ledger website to avoid fake versions or scams.
Visit: ledger.com/ledger-live
Choose your operating system and download the app. Never use third-party download links.
2. Install and Open Ledger Live
After downloading, install the application on your computer or mobile phone.
When you open Ledger Live for the first time, you will see an option to:
Set up a new Ledger device, or
Connect an already-initialized device
Choose the option that matches your situation.
3. Connect Your Ledger Device
Use the USB cable to connect your Ledger Nano S, Nano S Plus, or Nano X.
If you use Ledger Nano X, you can also connect via Bluetooth on mobile apps.
Ledger Live will detect your device and guide you through each step.
4. Install the Latest Firmware
Before managing crypto, Ledger Live often asks you to update your device firmware. This is important because firmware updates:
Improve security
Fix bugs
Add new features
Support more cryptocurrencies
Follow the on-screen instructions. Do not disconnect your device until the update is complete.
5. Install Apps for Your Cryptocurrencies
Each cryptocurrency requires a specific app on your Ledger device. For example:
Bitcoin → Bitcoin app
Ethereum → Ethereum app
Solana → Solana app
XRP → XRP app
To install apps:
Open Ledger Live
Go to “My Ledger”
Browse available apps
Click Install next to the coin you want to use
The installation usually takes only a few seconds.
6. Add Accounts for Your Coins
Installing an app is not enough — you must also add an account inside Ledger Live so it can track your balances.
To do this:
Open Ledger Live
Click “Accounts”
Select Add account
Pick the cryptocurrency you want
Follow the instructions to sync the account
Now your Ledger wallet will show your balance and transaction history for that coin.
7. Receive Cryptocurrency
To receive crypto safely:
Open Ledger Live
Go to Receive
Choose the account
Verify the address on your Ledger device
Share the address or QR code with the sender
Always verify the receiving address on your device screen, not only in the app. The device screen is secure and cannot be changed by malware.
8. Send Cryptocurrency
To send crypto:
Open Ledger Live
Click Send
Enter the recipient address
Choose the amount
Confirm the transaction in Ledger Live
Approve the transaction on your Ledger device
Your transaction will be processed securely because the private keys never leave your Ledger device.
Key Features of Ledger Live
Ledger Live offers a wide range of features that make it a powerful and convenient tool.
Portfolio Overview
See the total value of your crypto portfolio, price charts, and market changes in real time.
Buy and Sell Crypto
Ledger Live partners with trusted crypto services so you can:
Buy crypto directly inside the app
Sell selected coins
Pay using cards, bank transfers, or other methods (depending on your region)
These services are integrated but optional.
Swap (Exchange) Crypto
Swap one cryptocurrency for another instantly through built-in partners.
Your hardware wallet still signs all transactions for safety.
Staking
Some cryptocurrencies, like Ethereum, Polkadot, or Tezos, allow staking.
Ledger Live supports staking, helping you earn rewards while keeping your private keys secure.
Secure Backup Tools
Ledger Live helps you manage:
Recovery phrase checks
Device PIN settings
Passphrase options
Firmware and app updates
These tools help you maintain the strongest possible security.
Why Ledger Live Is Safe
Ledger Live is secure because:
Your private keys stay offline inside the Ledger device
Transactions must be approved on the hardware wallet
The app uses encrypted communication
Official updates keep your device protected
Even if your computer is infected, your crypto remains safe because the private keys never leave the device.
Final Thoughts
Ledger Live is an essential companion for any Ledger hardware wallet user. It provides a smooth, secure, and convenient way to manage crypto assets, track your portfolio, send and receive coins, and install new apps. Whether you're a complete beginner or an experienced crypto user, Ledger Live makes managing digital assets simple and safe.